
Find out here the most complete dr.fone guides to easily fix the problems on your mobile. Various iOS and Android solutions are both available on the Windows and Mac platforms. Download and try it now.
Whether you admit it or not, the deleted files in iOS can be recovered.
For privacy protection, the Erase Deleted Files feature of dr.fone - Erase (iOS) can help you wipe the deleted iPhone/iPad files permanently. After the erasure, even veteran hackers can by no means access the data you have deleted in your iPhone or iPad.
When dr.fone is installed and launched, you can see an interface with multiple functions. Click on the "Erase" option to continue.

Here are the simple steps to completely wipe the data you have deleted from your iDevice:
Step 1. Connect your device to the computer
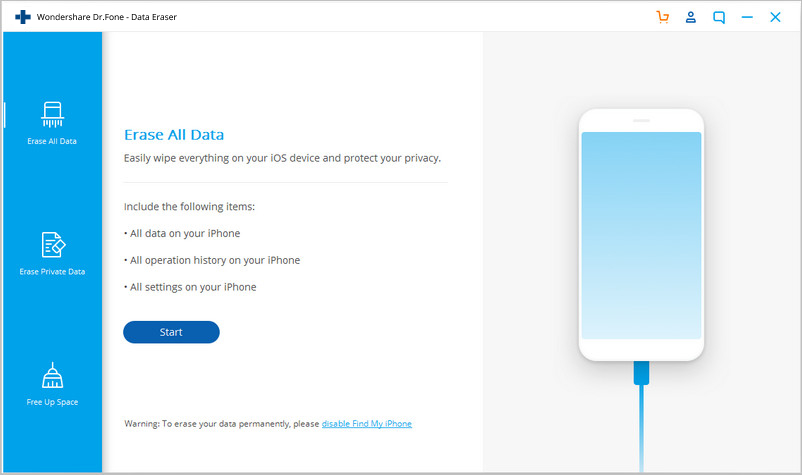
Take out the lightening cable and connect your iPhone or iPad to the computer. Upon the device recognition, you can see four Erase options. Just click on the "Erase Deleted Files" option (the second one).
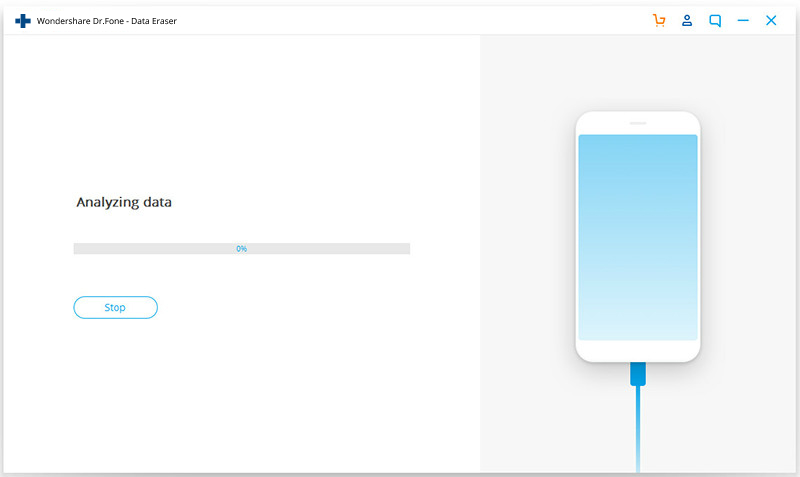
Then dr.fone - Erase (iOS) starts to analyze the data you have deleted.
Step 2. Preview the deleted files and confirm the erasing.
This tool will then scan the deleted files of all types in your iDevice.
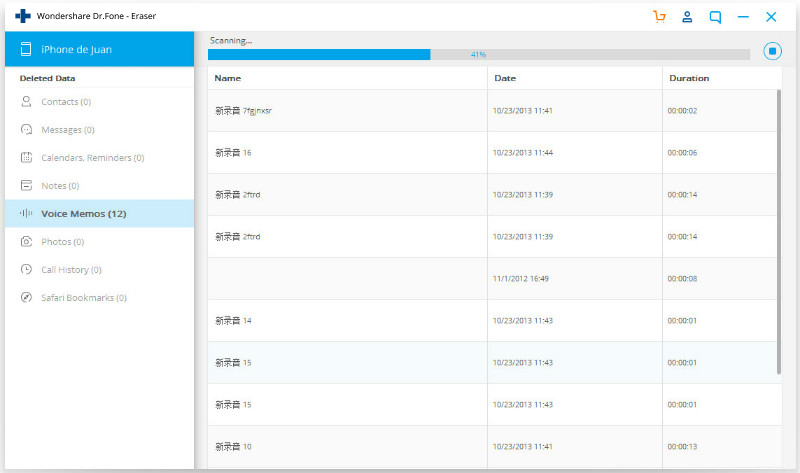
After the files are detected, you can preview the deleted files by type (like Contacts, Messages, etc.). Select the files you want to wipe forever and click "Erase".
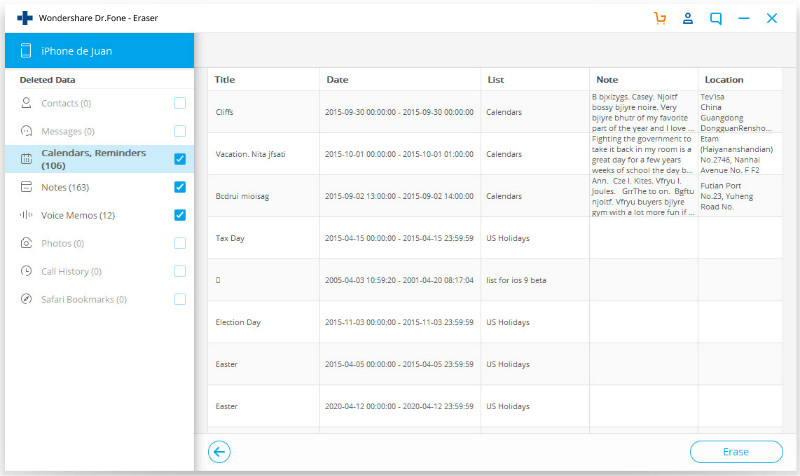
In the next screen that shows up, specify the security level, type in the code as required, and click "Erase Now" to confirm.
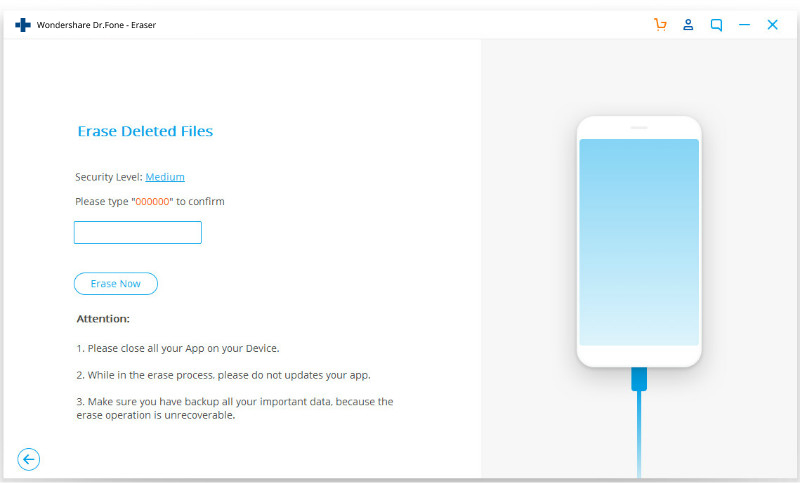
Step 3. Keep the device connected during the erasure.
The tool now starts to permanently erase your files. Keep the device connected until the erasing operation is complete.
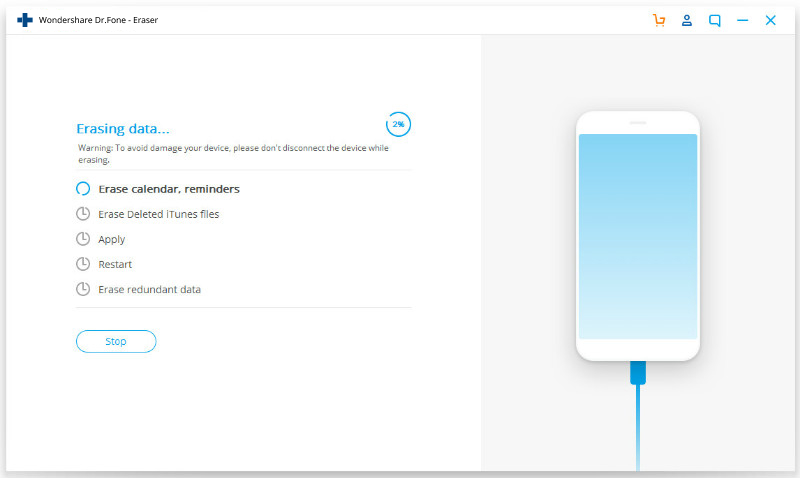
During the erasing process, your iPhone or iPad may reboot. In this case, you need to enter your passcode on your device to continue.
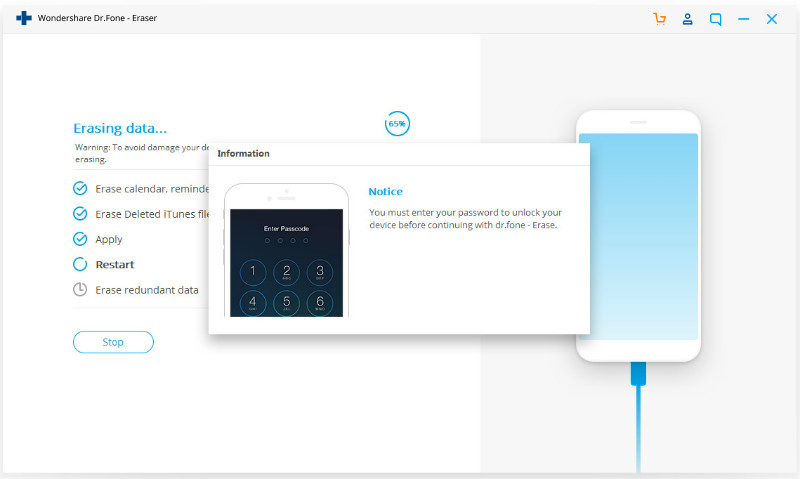
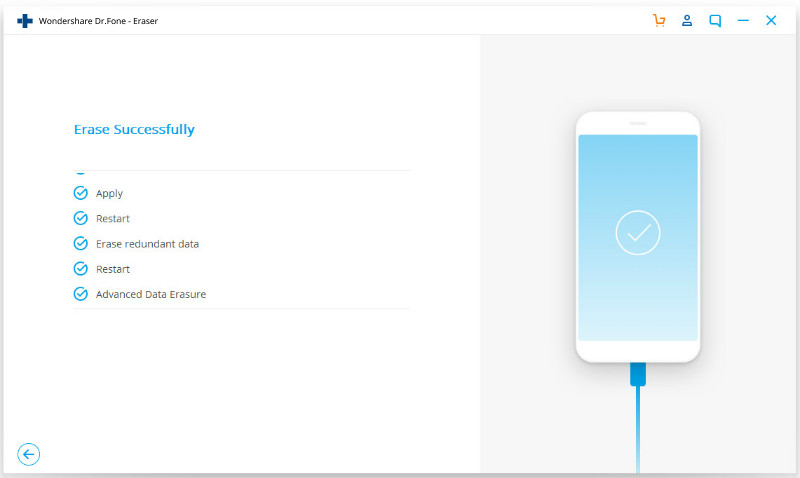
After several in-depth erasing steps (listed on the screen), dr.fone - Erase (iOS) now have completely wiped the files.
