
Find out here the most complete dr.fone guides to easily fix the problems on your mobile. Various iOS and Android solutions are both available on the Windows and Mac platforms. Download and try it now.
The Erase Private Data function for iOS can help you wipe the personal data, such as contacts, messages, call history, photos, notes, calendar, Safari bookmarks, reminders, etc. Everything is completed erased and won't be recovered again.
Video Guide: How to Erase iPhone/iPad Private Data?
Launch dr.fone on your computer and select Erase among all the modules.

Next, let's check how to use dr.fone - Erase (iOS) to completely erase iOS private data in steps.
Step 1. Connect your device to the computer
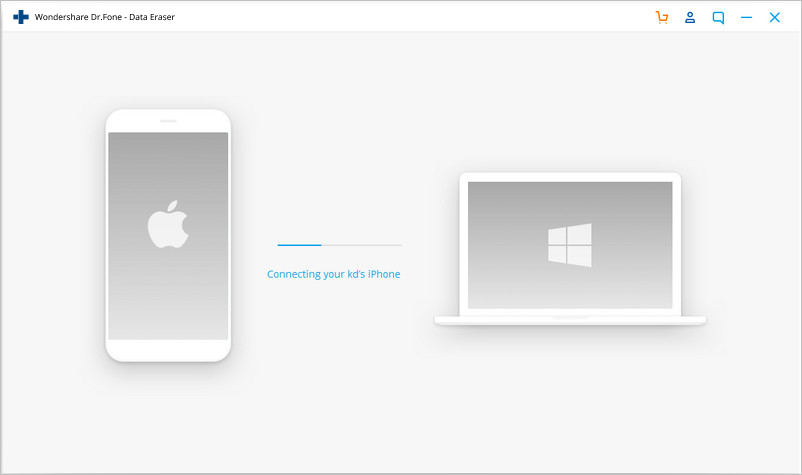
Plug your iPhone or iPad to the computer with a lightening cable. Tap on Trust on your iPhone/iPad screen to make sure the iPhone/iPad connects successfully.
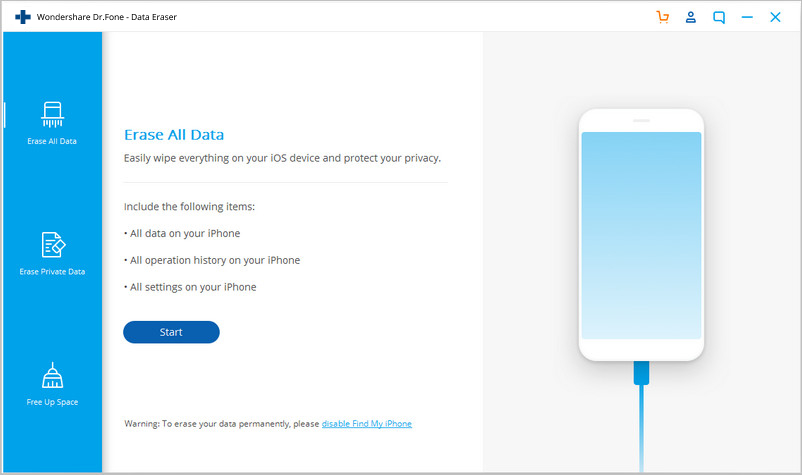
When dr.fone recognizes your iPhone/iPad, it will display 4 options. Here we select Erase Private Data to continue.
Step 2. Scan the private data on your iPhone
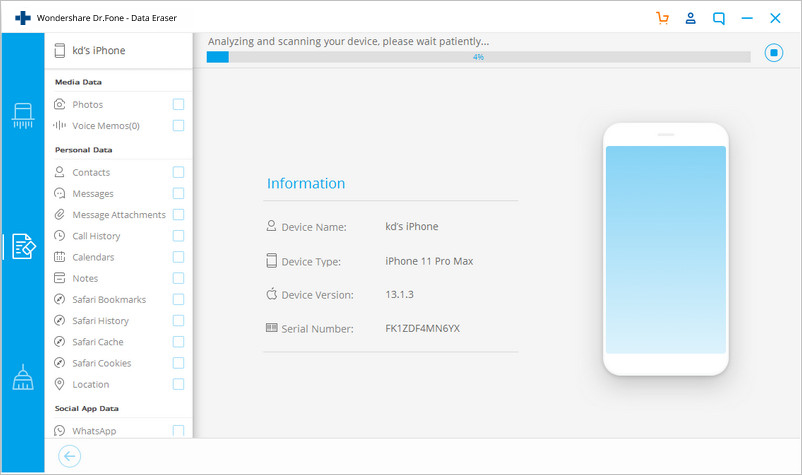
To erase your private data on the iPhone, you need to scan the private data first. Click the "Start Scan" button to let the program scan your iPhone.
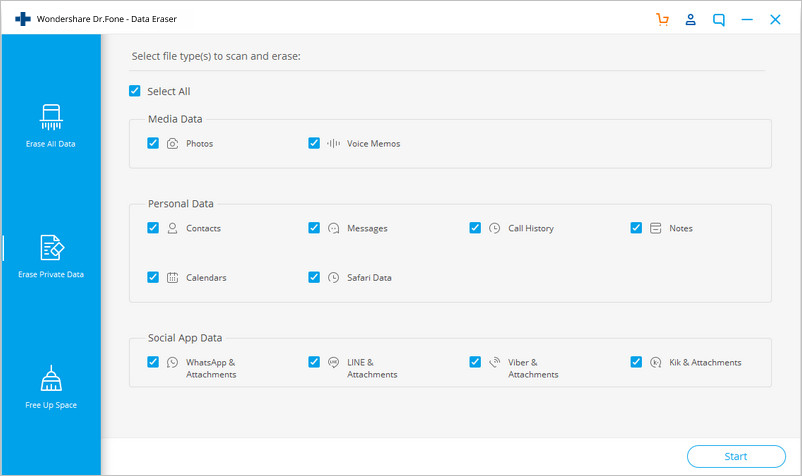
It will cost you some time. Just wait until you can see all the found private data in the scan result.
Step 3.Start erasing private data on your iPhone permanently
You can preview all the private data found in the scan result, such as photos, messages, contacts, call history and more. Select the data you want to erase, and click on the Erase from the Device button to start erasing them.
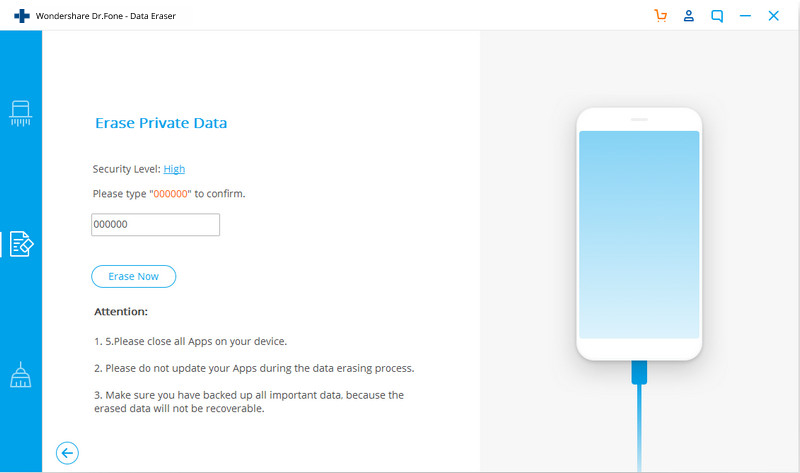
Since the erased data can't be recovered again, we can't be too careful to proceed the erasing. Enter "delete" in the box to confirm the erasing and click "Erase now".
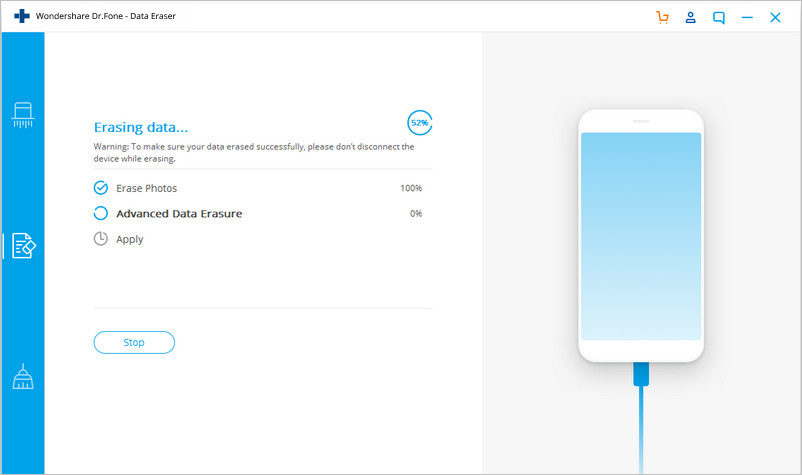
When the private data erasure begins, you can take a cup of coffee and wait for its end. It takes you some time. Your iPhone/iPad will be restarted a few times during the process. Please don't disconnect your device to ensure a successful data erasure.
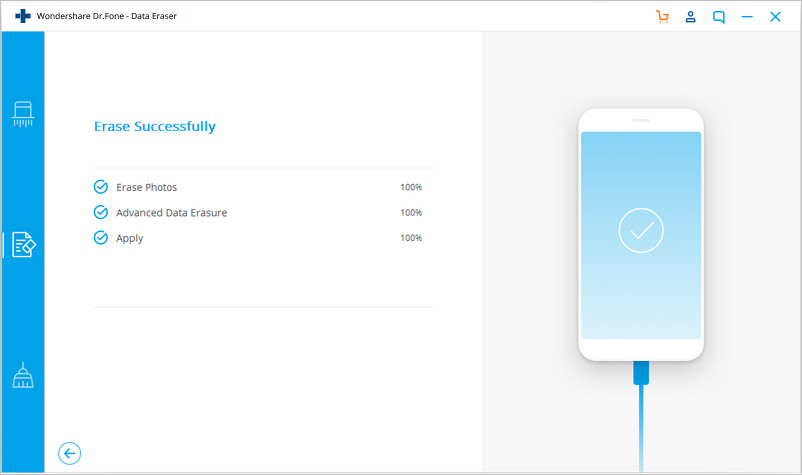
Once the process is complete, you will see an "Erase Completed" message on the window of the program.
